CLOSE
Cancel
Combine the sweetness of s’mores and science with this DIY Solar Oven S’mores activity! This uses a DIY solar oven to harness the sun’s energy to melt S’mores into ooey, gooey goodness. It’s an educational, hands-on project that you and your little ones can make using supplies around the house.
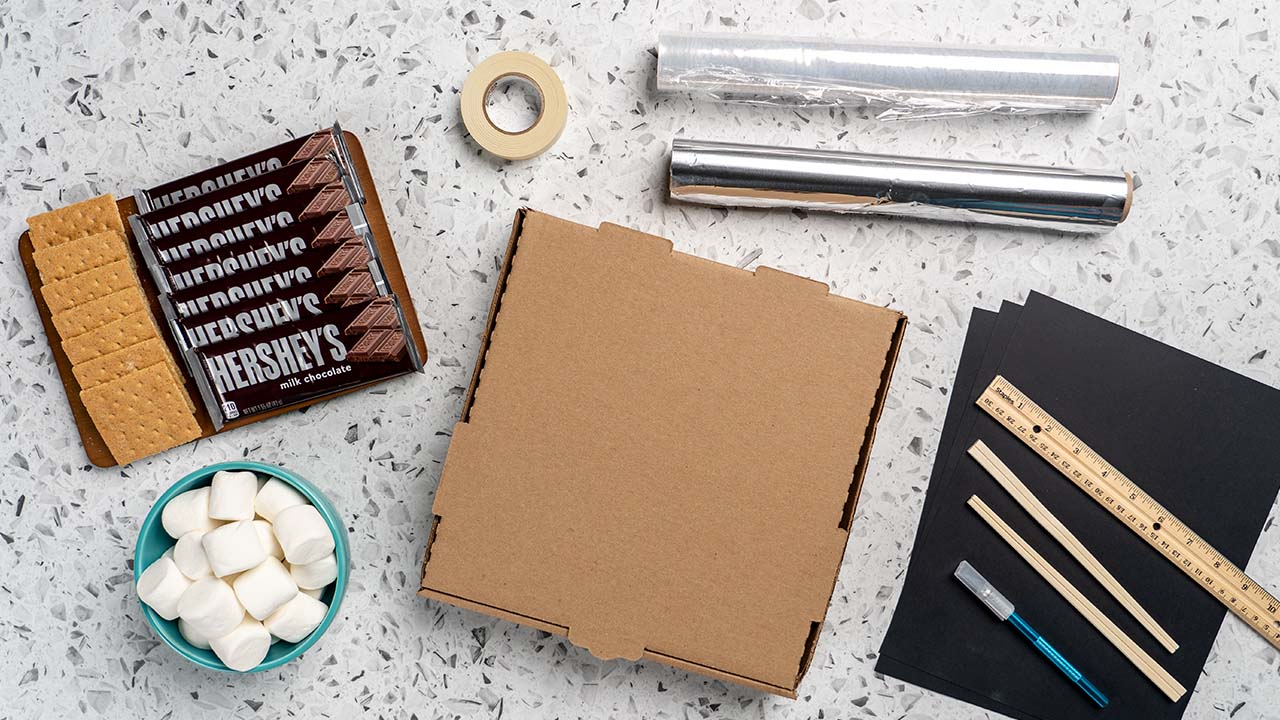
Gather your solar oven supplies
a. Choose a cardboard box that suits your cooking needs. The box should be sturdy and have a lid. We suggest using upcycled materials such as a pizza box or used shipping box.
b. Sustainable Option: Use eco-friendly adhesives such as water-based glues or tapes that are free from harmful chemicals. This ensures that your solar oven is safe for food prep and minimizes environmental impact.
c. Sustainable Option: If possible, use recycled aluminum foil for lining the interior of the oven.
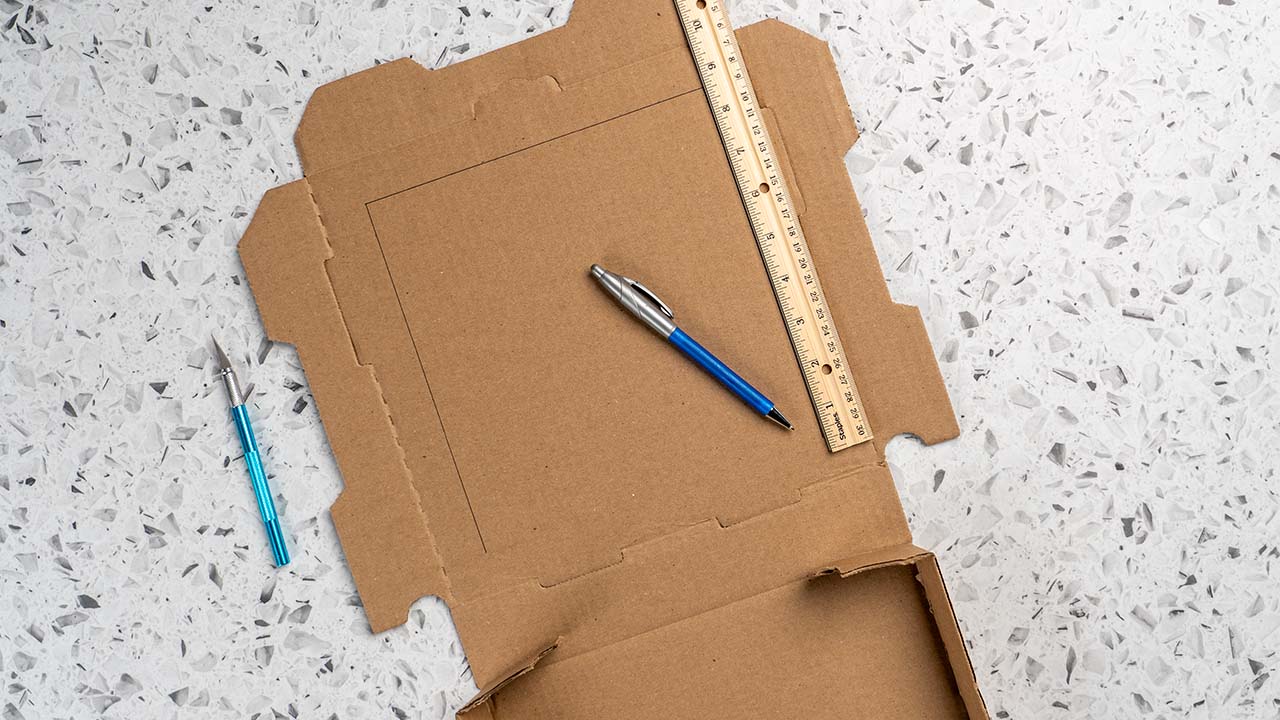
Cut a flap in the lid of the pizza box. Cut along three sides, leaving about an inch between the sides of the flap and the edges of the lid.
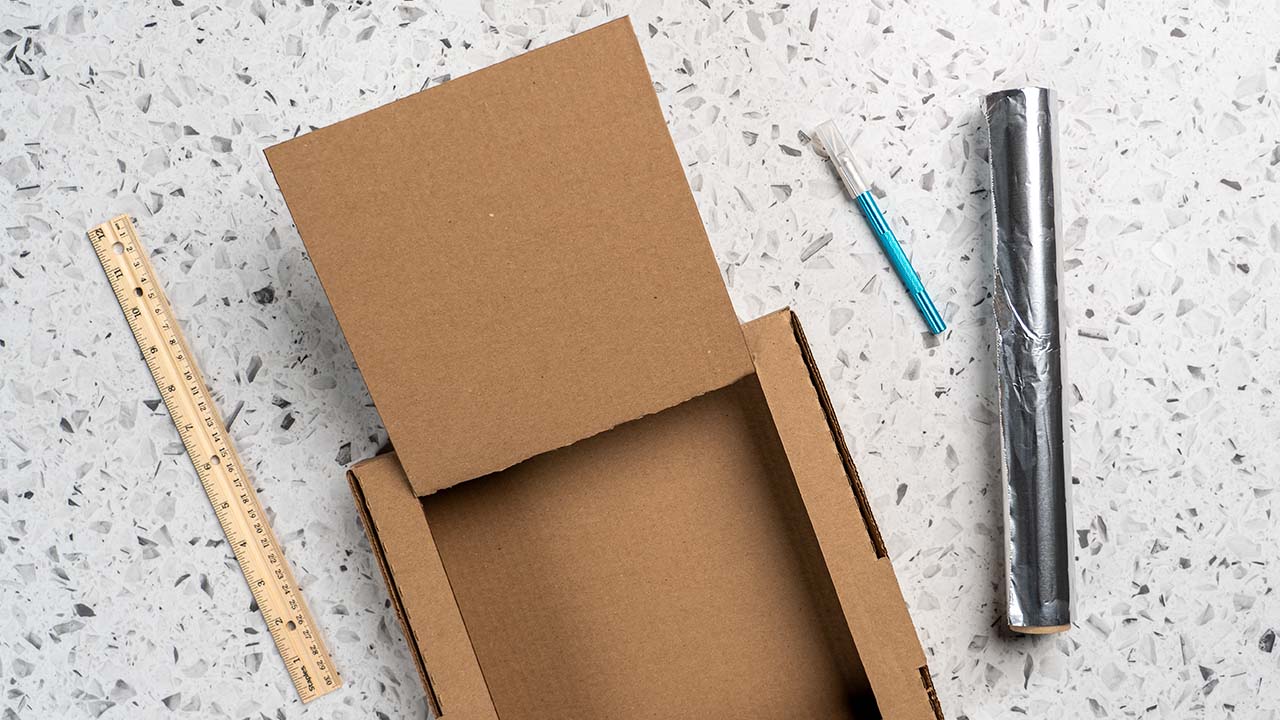
Fold this flap out so that it stands up when the box lid is closed. If necessary, reinforce the corners and edges of the box with tape to make it sturdier.
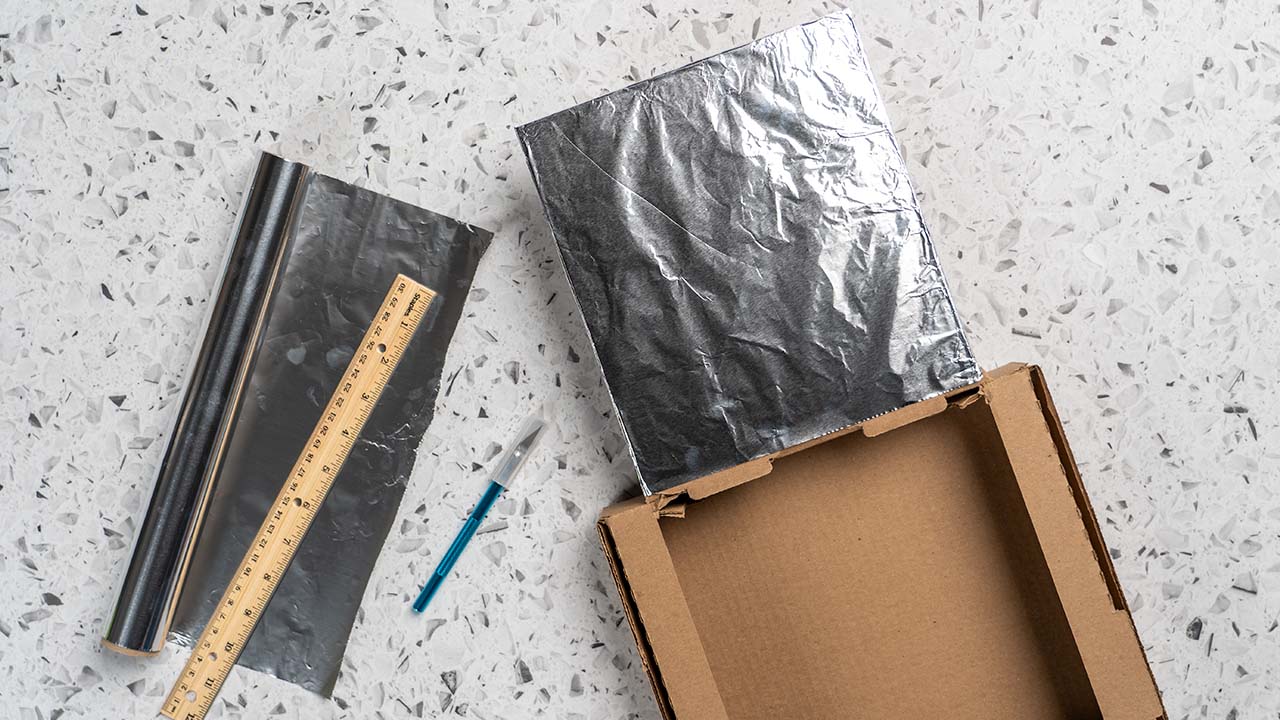
Using tape or glue, cover the inner side of the flap with aluminum foil (shiny side out) so that it will reflect rays from the sun.
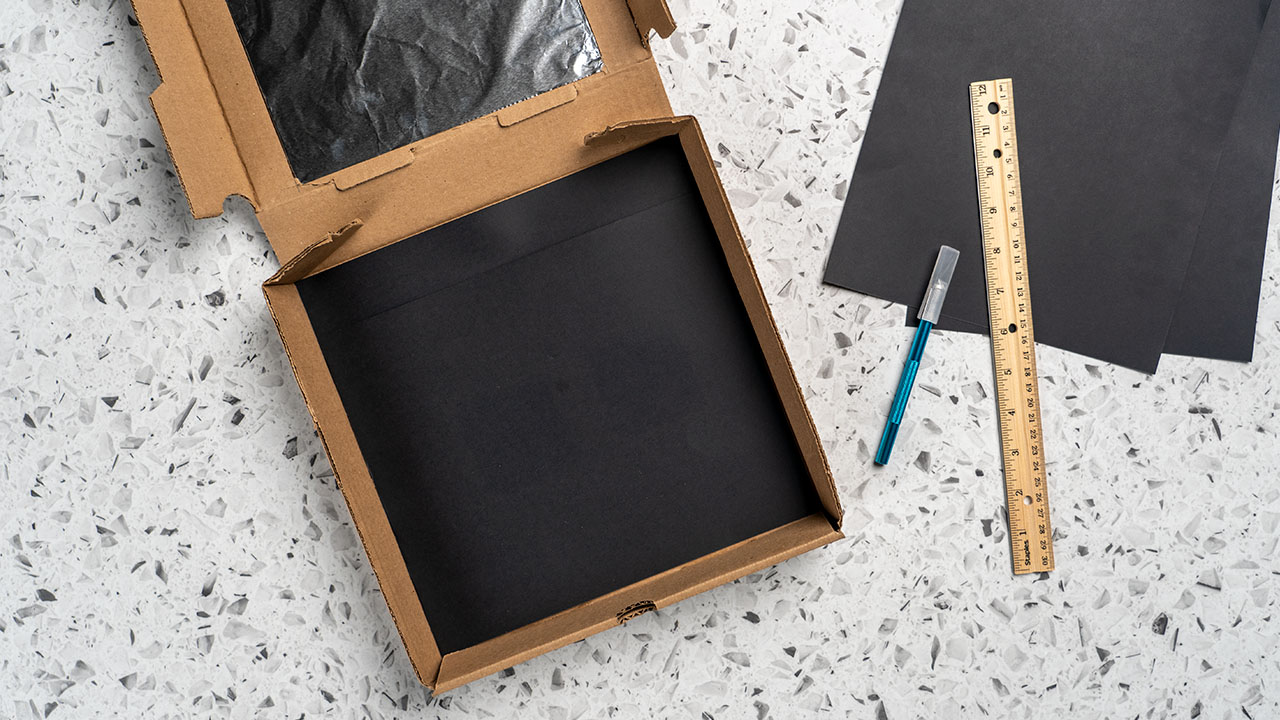
Line the interior of the solar oven
a. Place a layer of black construction paper on the bottom interior surface of the box. This helps absorb heat efficiently and retain it.
b. Use glue or tape to secure in place.
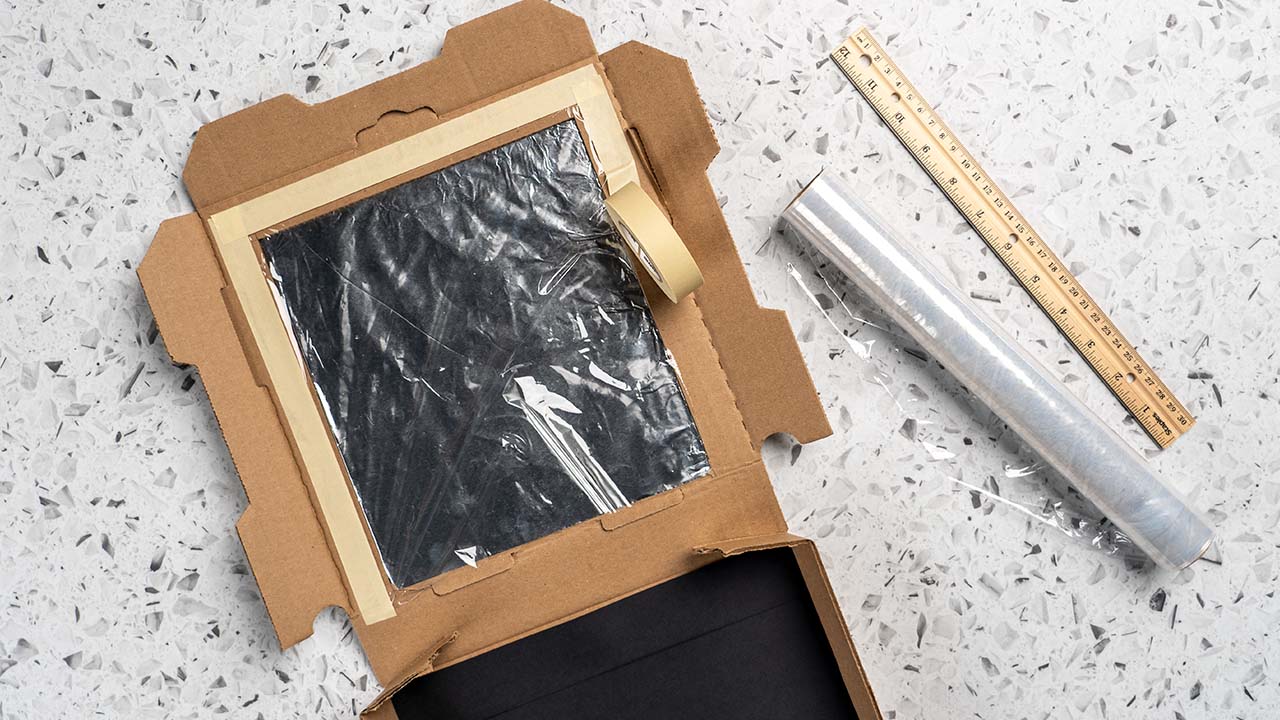
Create the solar oven insulation
Use clear plastic wrap to create an airtight window for sunlight to enter the box. Do this by opening the box and taping a double layer of plastic wrap over the opening you made when you cut the flap in the lid. Leave about an inch of plastic overlap around the sides, pull tight and tape each side down securely, sealing out air. You can also upcycle a used plastic bag for this step.
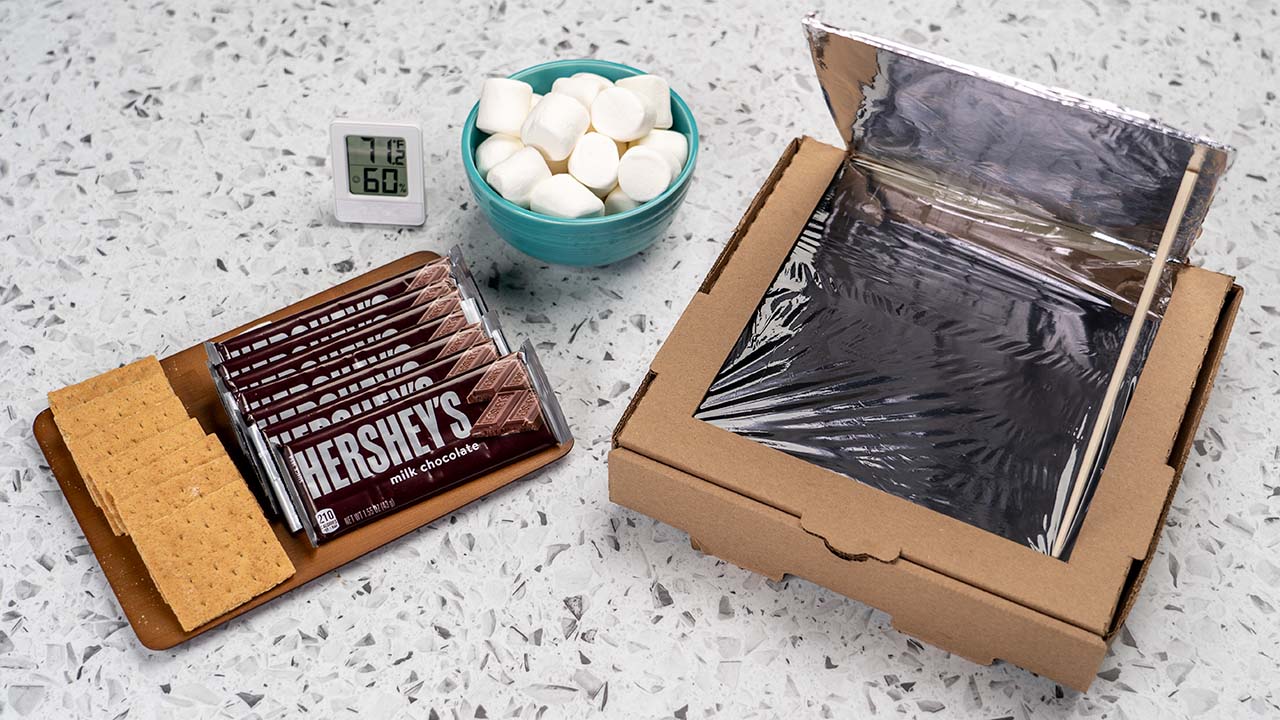
Final touches
Use a skewer to prop the lid open at an angle that allows sunlight to enter the oven. This angle may need adjustment throughout the day to maximize sunlight exposure. Optional: Place a cooking thermometer inside the oven to monitor the temperature.
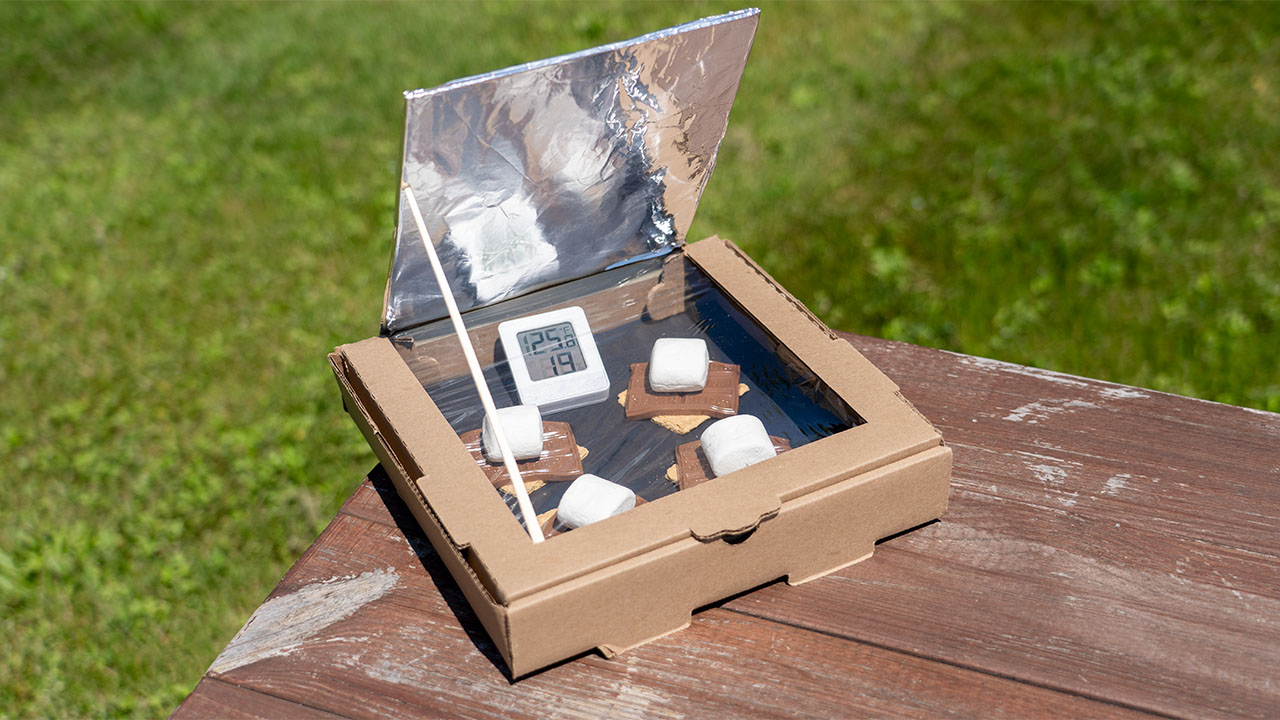
How to make Solar S'mores
a. Preheat the diy solar oven for 30-40 minutes outside. The best hours to set up your solar oven are when the sun is high overhead—from 11 am to 3 pm. The temperature outside should be at least 75F to work best.
b. Place your graham cracker, chocolate and marshmallow in a heat-resistant container inside the solar oven.
c. Close the lid and position the oven in direct sunlight. Monitor your S’mores regularly and remove when they've reached our preferred meltiness. Adjust the angle of the lid as needed to maintain optimal heat. Make sure you don't stray too far from the oven while your S’more is in the solar oven. The chocolate can melt quick!
It’s Getting Hot in Here
Optional: Wondering how hot your DIY solar oven can get? Place a cooking thermometer inside the oven to monitor the temperature. The melting point of chocolate is between 86-90F, so once your thermometer gets to that temperature, your S’more will be on its way to perfection!